Overview
The MEDS sample is a small Godot project that demonstrates how variables, events, bindings, and editor tools work together in a real scene.
If you want to see MEDS in action quickly, this is the best place to start.
What the sample shows
- resource-driven game state through
.tresvariables such asrobot-health.tres,robot-rotation.tres, androbot-name.tres - event-driven gameplay through
samples/events/take-damage.tres - UI bindings through
variable-driven-label.gd,variable-driven-slider.gd,variable-driven-progress-bar.gd,bool-driven-checkbox.gd, andcolor-driven-color-picker.gd - scene logic reacting to shared variables instead of relying on tightly coupled nodes
- debugger-friendly resources that can also be inspected with the MEDS editor tools
Main scenes
| Scene | Purpose |
|---|---|
samples/main.tscn | Main sample scene with the robot, menu, audio manager, and scene manager |
samples/prefabs/menu.tscn | UI panel that edits and displays MEDS resources through bindings |
samples/prefabs/player.tscn | Robot prefab and related listeners that react to variables and events |
samples/game-over.tscn | Game over screen shown when the health variable reaches zero |
Main resources
| Resource | Role in the sample |
|---|---|
samples/resources/robot-health.tres | Shared health state used by the robot, progress bar, heartbeat controller, and scene manager |
samples/resources/damage-amount.tres | Amount removed from health each time damage is triggered |
samples/resources/robot-rotation.tres | Rotation value controlled by the slider and applied to the robot |
samples/resources/robot-visibility.tres | Boolean used to toggle whether the robot is visible |
samples/resources/robot-name.tres | Text displayed in labels through variable-driven-label.gd |
samples/resources/damage-color.tres | Color value used to tint the robot material |
samples/events/take-damage.tres | Event raised by the UI button to trigger damage reactions |
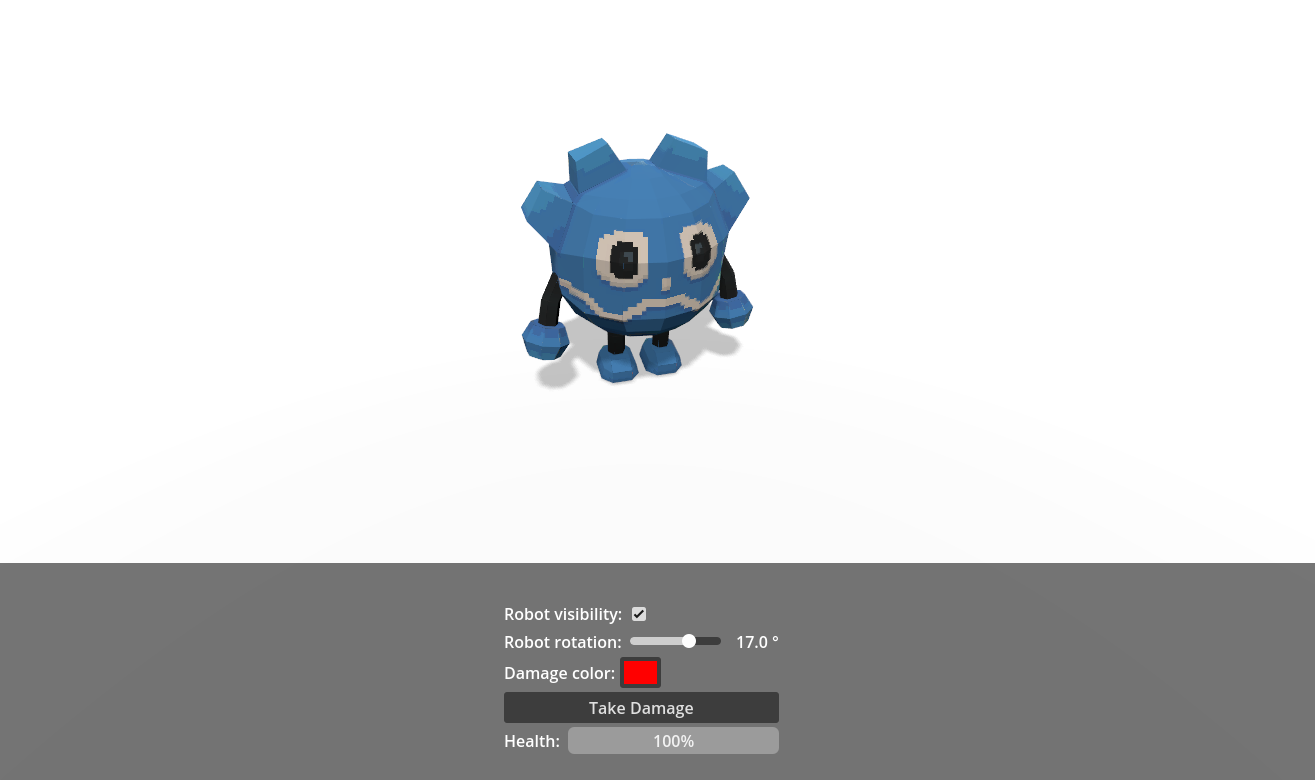
What to try in the sample
- Toggle the checkbox to show or hide the robot.
- Move the slider to rotate the robot.
- Change the color picker to update the robot material.
- Click
Take Damageto raise the damage event. - Watch the progress bar, audio feedback, and scene transition react to the same shared resources.
Folder tour
| Folder | Contents |
|---|---|
samples/resources/ | Variable resources used by the sample |
samples/events/ | Event resources used by the sample |
samples/prefabs/ | Reusable scene pieces such as the menu and player |
samples/scripts/ | Small glue scripts that bind nodes to variables and events |
addons/godot_meds_core/scripts/ui/ | Reusable MEDS UI binding scripts used by the menu |
Suggested reading order
- Open
samples/main.tscnto see the full sample scene. - Inspect
samples/prefabs/menu.tscnto see how bindings connect UI controls to resources. - Inspect
samples/prefabs/player.tscnandsamples/scripts/robot.gdto see how gameplay reacts to MEDS events and variables. - Read the next page in this section for the full gameplay flow.